Creating an Escrow
Prerequisites
The raid party lead (e.g. Cleric or Monk) will want to create an escrow for the raid (or RIP).
| Info | Description |
| Raid party addresses | Addresses for all raid party members or a Safe address |
| The client's address | The address where the client can release the funds and lock the escrow. |
| Milestone amounts | From the milestone amounts we'll calculate the total payment for the raid. Milestone amounts are flexible. All milestones must use the same token |
| Safety valve withdrawal date | This is the date past which the client can withdraw any remaining funds in escrow, on the assumption that the raid has not delivered on its promise.
|
| For Raids, the associated Raid ID | You can find this in Dungeon Master from the Raid page. Also selecting "Create Escrow" from the Raid Detail page will handle this automatically for you. |
Client address doesn't need to be the address funding the escrow. Funds can be sent directly to the escrow contract.
Raid or RIP?
The easiest way to create an escrow is to use the Escrow Zap which will walk you through the process and handle creating a Safe and any necessary Splits in a single transaction.
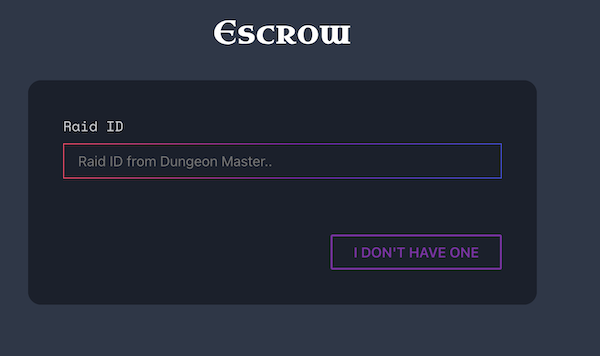
When you first go to create an escrow you'll need to either find the Raid ID so the escrow can be linked to the Raid, or you can create an escrow for a RIP which will be handled manually for now.
- For Raids, enter the Raid ID here and you'll able to advance to the next step
- For RIPs, select "I don't have one"
*below you can substitute RIP party for any instance of "raid party"
Links to escrows in RIP requests is recommended.
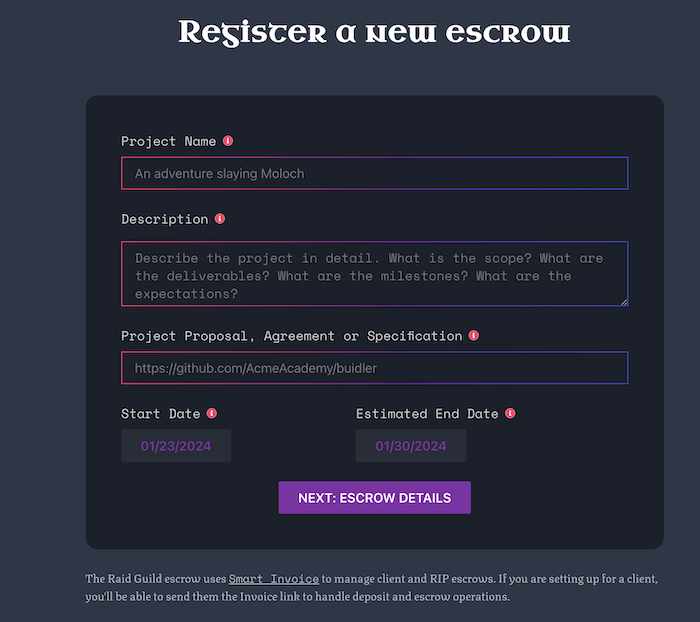
1. For RIPs, provide the project details
High-level details for the project can be included or filled with dummy or reference values. These values are public (pinned on IPFS), so we'll generally use the raid ID as the only reference on Raids.
The project details we can include are
- Name
- Description
- Link - can be an
ipfs://orhttps://link - Start Date
- End Date
Once we have the project details, we can move on to the onchain escrow details.
2. Enter escrow details
Both escrow types will require some additional details. This includes:
- the
Client's address - an optional
Raid Party Address, if not creating a raid party split - the
Safety Valve Date
For #RIPs, the client will be provided automatically and set to the Ganggang multi-sig.
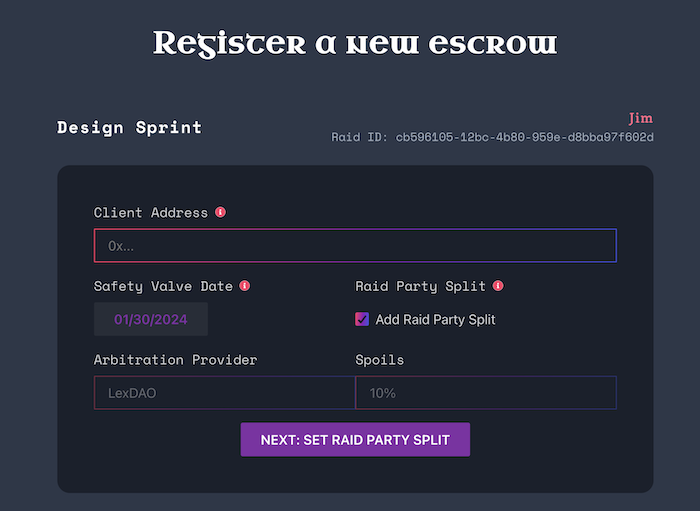
Safety Valve Date should be 1 - 2 months after the expected delivery date. The escrow will function normally after this date, but the client can withdraw the funds at anytime.
Arbitration provider will be handle automatically for both escrow types:
- Raids will, generally, use LexDAO for arbitration
👉 learn more about arbitration in In Case of Dispute - RIPs will use RaidGuild DAO for arbitration
3. Handle Split details
If you opted to create a raid (or RIP) party split in the previous step, you'll be asked to provide percentage splits for the first milestone to be released along with the raid party member addresses for each split percentage.
Raids will have a secondary split created (regardless of opting for a raid party split) to handle the DAO spoils for the Raid.
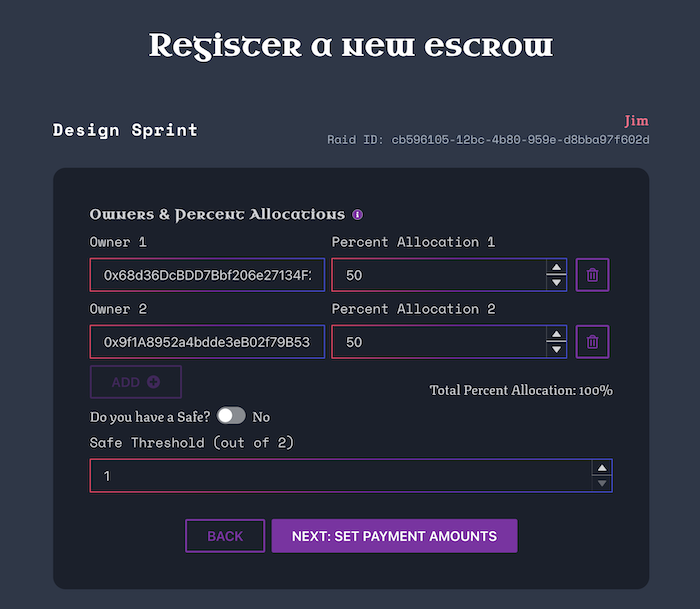
Splits will need to be updated between milestone releases to account for member participation in each milestone. It is recommended to handle this after each release for the next milestone. The controller will be set so the raid party multi-sig can update it.
Optionally, you can provide a Safe address which will be used as the controller for the created Split.
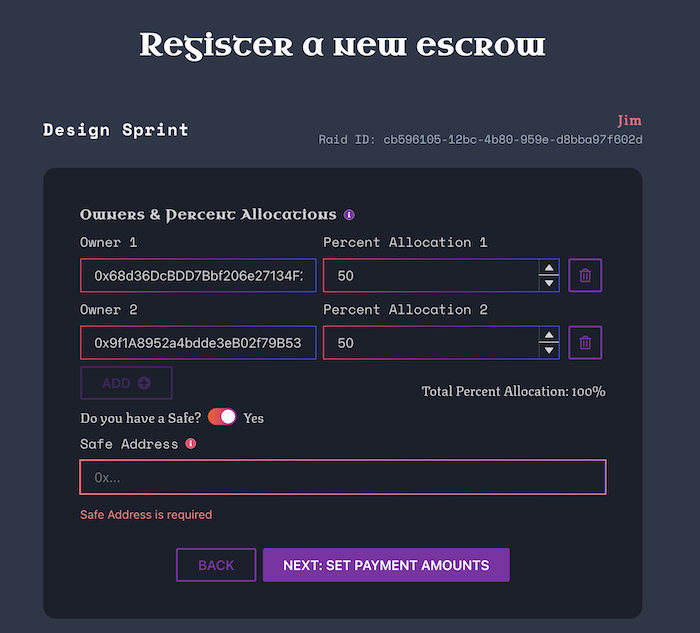
After setting up the Split allocations, we can add the payments for the escrow milestones.
4. Enter milestone payments
Milestones allow us the opportunity to check-in with the client (or Guild) and ensure the final deliverable for the project is on track and meeting expectations.
Each milestone will need to use the same payment token, but can be flexible in size for the needs of the project. Enter each milestone's payment amount and add more with the + Add button below the current milestones.
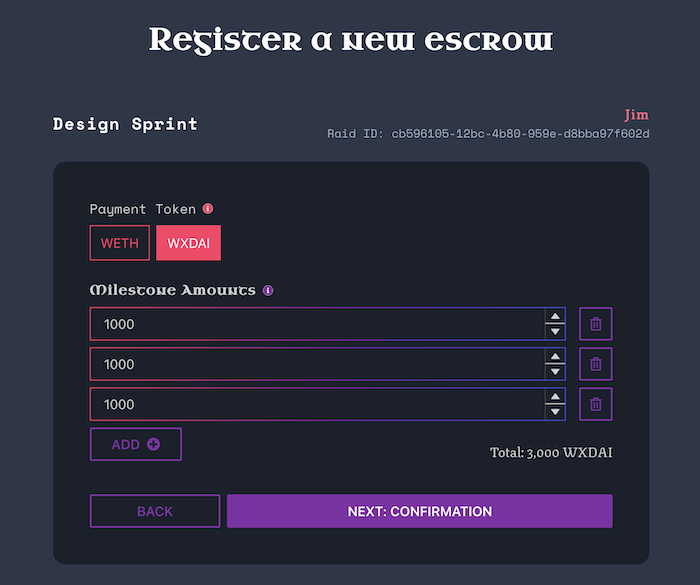
Finally, we can confirm the details and get the escrow deployed.
5. Confirm & Deploy
If you are raiding on Optimism, make sure you are connected to the Optimism chain before you deploy the escrow.
With all the steps for creating an escrow complete, review what will be deployed and confirm the transaction.

Once the escrow is created we can work on getting it funded.
Next: Get the escrow funded
Head over to Funding an Escrow for a breakdown on how you can get your escrow funded by a client or the guild. There are several easy options for getting your escrow funded.